Quick Messaging in the Privileged
User Web Interface
Overview:
Support Reps can also access their Quick Messages via the
Privileged User Web Interface. In the Web Portal, you have the option to
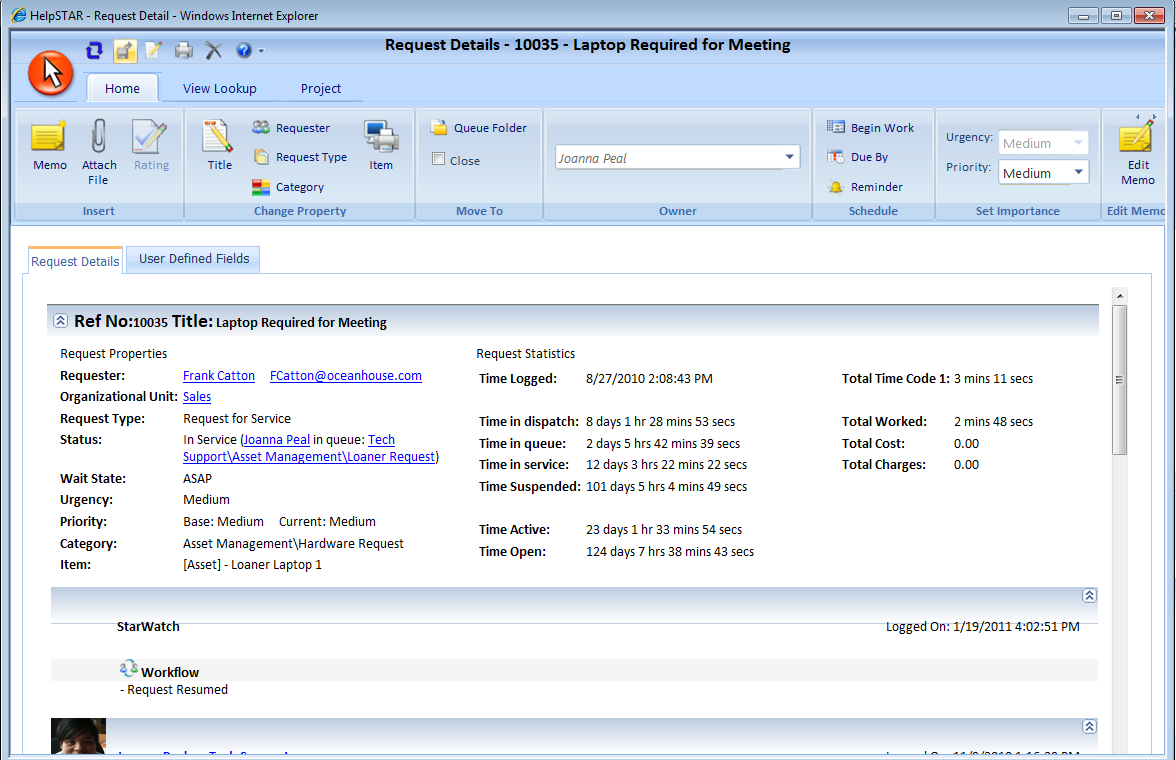
begin new threads, reply to existing once and view message threads similarly to
Windows Client. Note that Quick Messages are intended to be sent to other
Support Reps using HelpSTAR. They can only be send to end users in service
requests that they are the Requester of.
Accessing Quick Messages on the Web Portal
To view your Quick Messages, perform the following:
-
Login in to the Web Portal as a Privileged User.
-
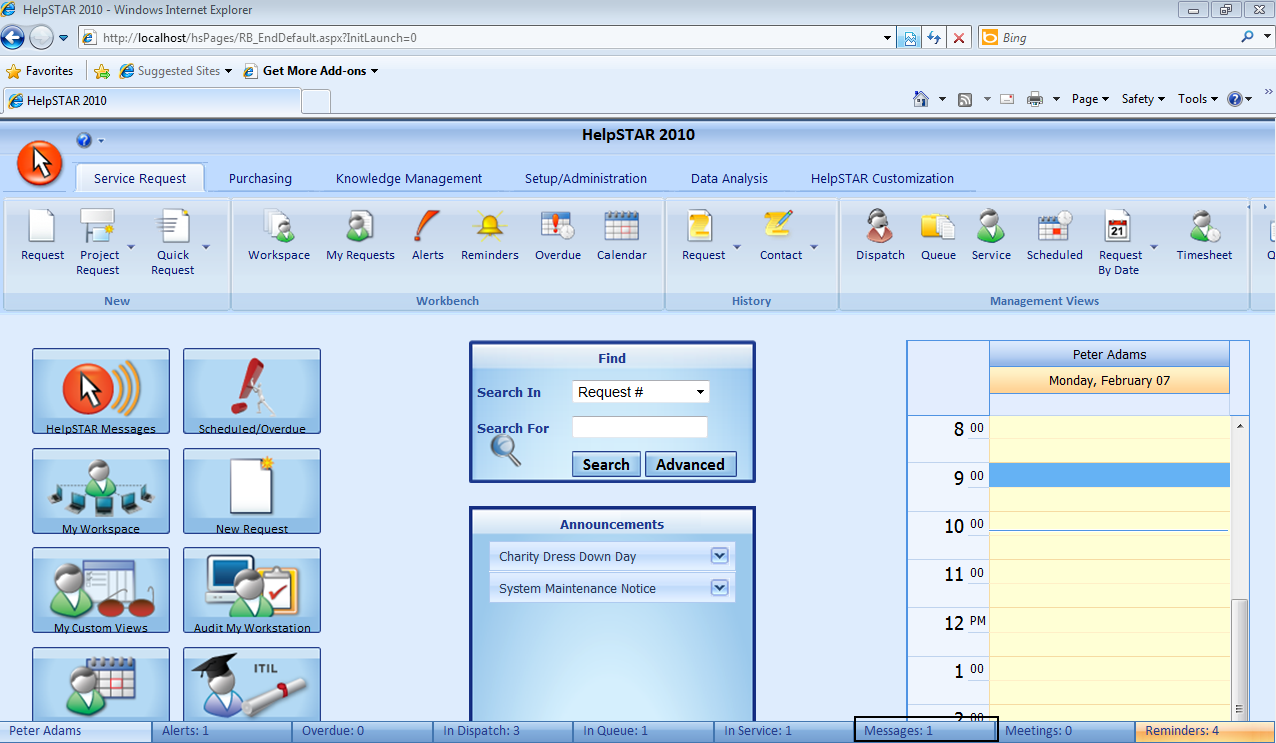
At the HelpSTAR Home Page, select the Messages option on the bottom toolbar
of the Web Portal:
-
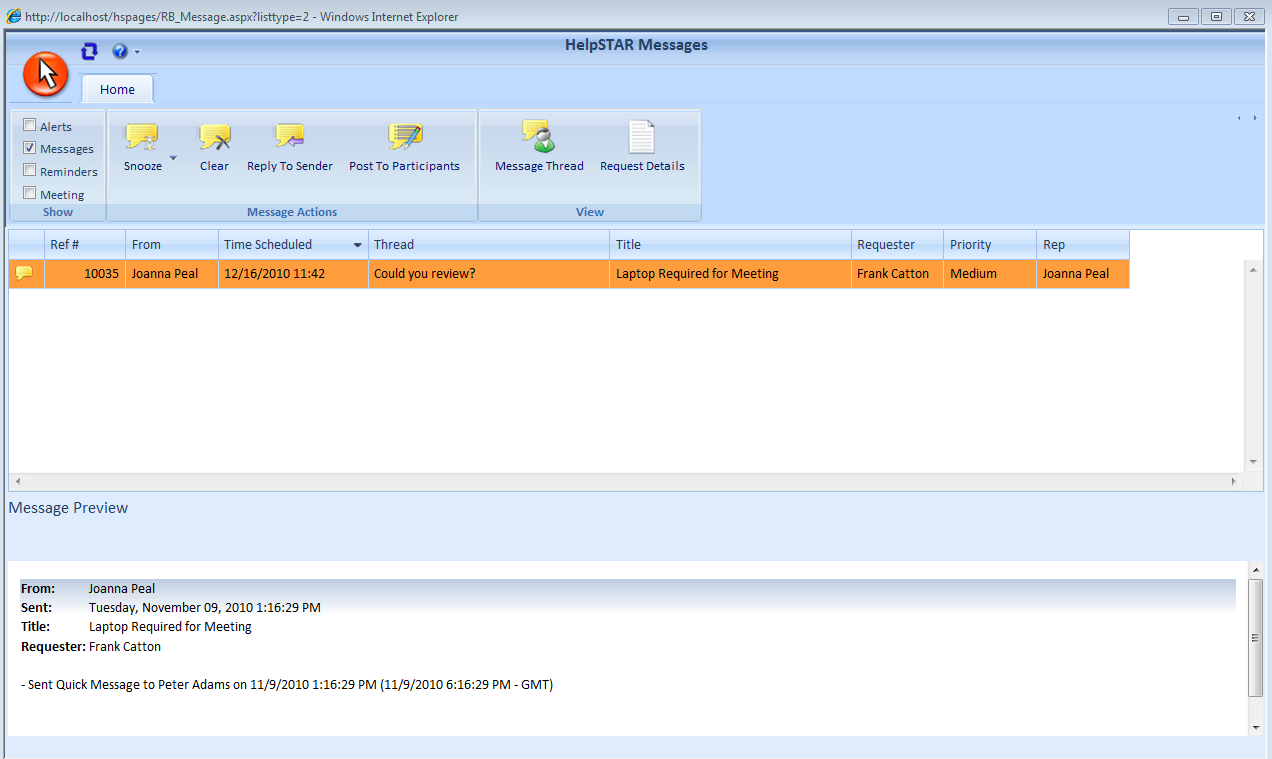
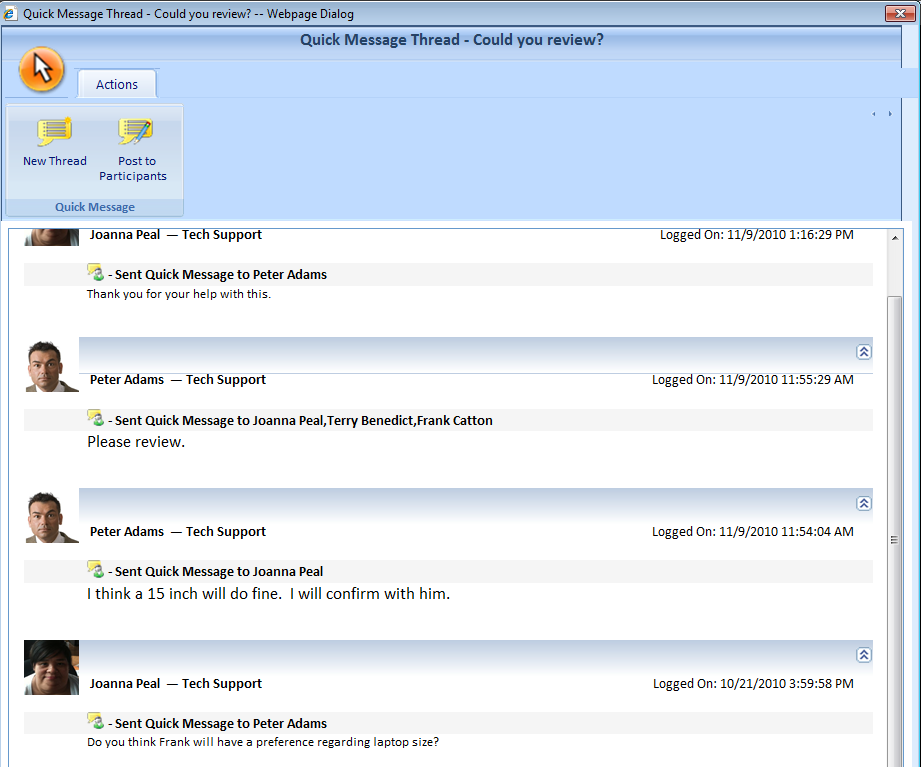
Once selected, the Quick Messages window will appear as shown below:
-
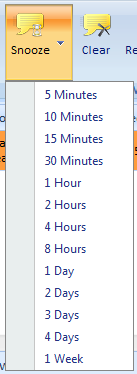
Once a Quick Message is selected, the options available
are:
-
Clear – Permanently delete the selected Quick Message.
-
Reply to Sender – Add a response to the sender of a Quick Message.
-
Post to Participants – Add a response to all users included in the Quick
Message thread.
Beginning a New Quick Message Thread
- To start a Quick Message thread, perform the following:
-
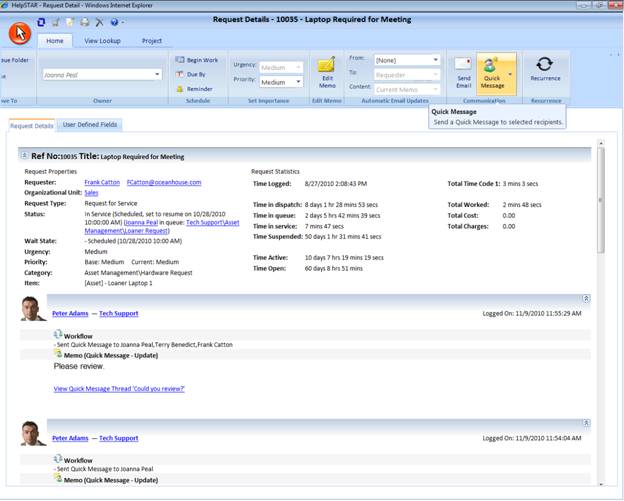
In a Service Request, click on the Quick Message
icon.
-
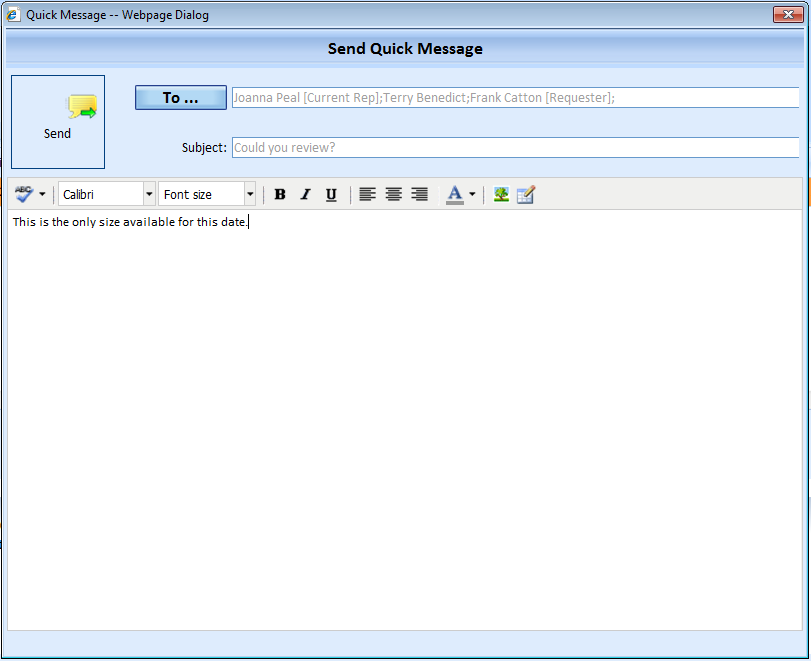
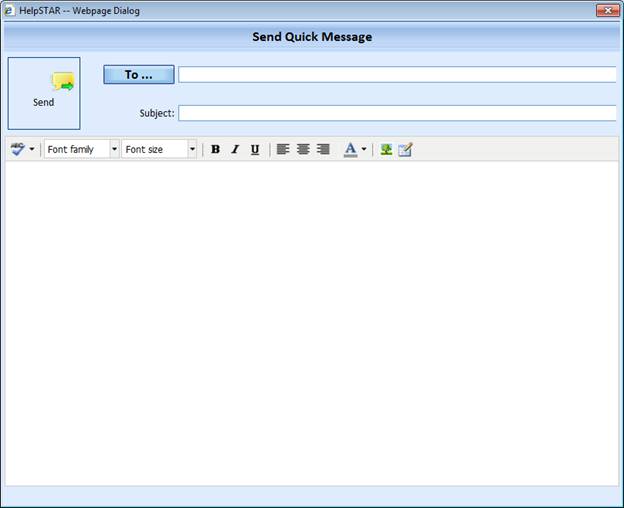
The Quick Message window below will appear:
-
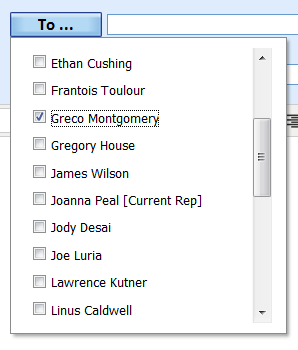
To select a recipient, click on the TO button. Participants can be
added and removed at any point of the message thread history. The window
below will appear.
-
Check the user(s) who you would like to send a Quick Message to.
Click Save when you have completed selecting the users.
-
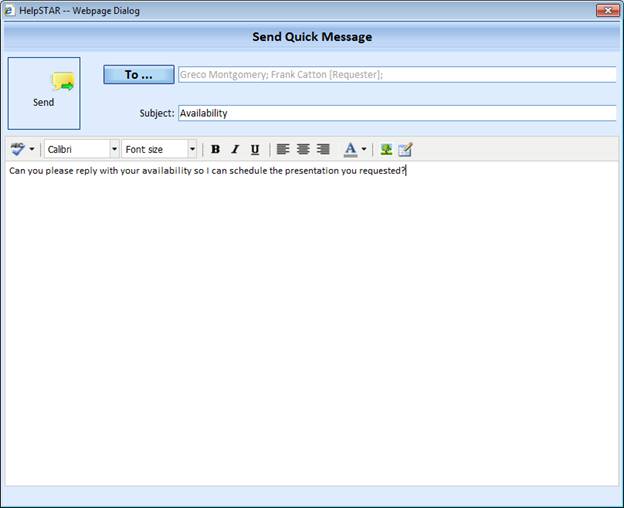
Enter a Subject for the Quick Message Thread. Note a subject must be
entered to send a Quick Message. Once the subject is entered for a Quick
Message thread, it cannot be modified.
-
Enter the contents in the Memo field.
-
Once all fields are completed, click on the Send button to start the Quick
Message Thread.
Back to
top
See Also:
Web Portal for Privileged Users
Alerts and Messages on the End User Web
Portal


